 how-to
How to Measure Bay Windows for Shutters: 2026 Guide
Table of Contents
- What You'll Need Before You Start Measuring
- How to Measure Bay Windows for Shutters: Step-by-Step
- The Best Tools for Measuring Window Shutters
- How to Account for Window Obstructions in Shutters
- DIY Shutter Measuring Mistakes to Avoid
- Measuring Square Bays vs Splay Bays: What Changes
- Conclusion
- Frequently Asked Questions
Last Updated: September 20, 2026
What You'll Need Before You Start Measuring
Getting the numbers right starts before you pick up a tape. Measuring bay windows for shutters is a job of millimetres, not inches, and one wrong reading can mean a panel that never sits flush.
At Shutters West London, we've measured thousands of bays across period homes, and the same few mistakes come up again and again. Most of them trace back to rushing the prep.
Here's what you need on hand:
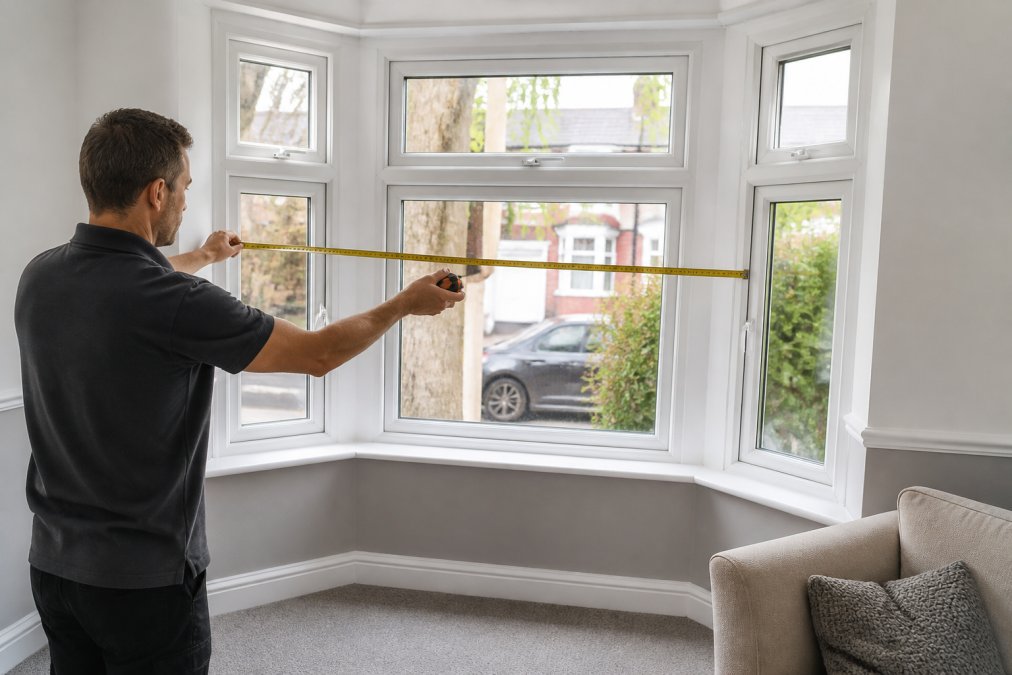
- A steel tape measure, not a fabric one
- A spirit level
- A pencil and paper
- A stepladder if your bay is tall
- A helper for wider bays
A bay window is a window that projects outward from the main wall of a building, usually made up of three or more panels set at angles. That shape is exactly why standard measuring advice falls short.
How to Measure Bay Windows for Shutters: Step-by-Step
The process breaks into three stages: width, height, and depth. Each stage feeds the next, so work through them in order and write everything down.
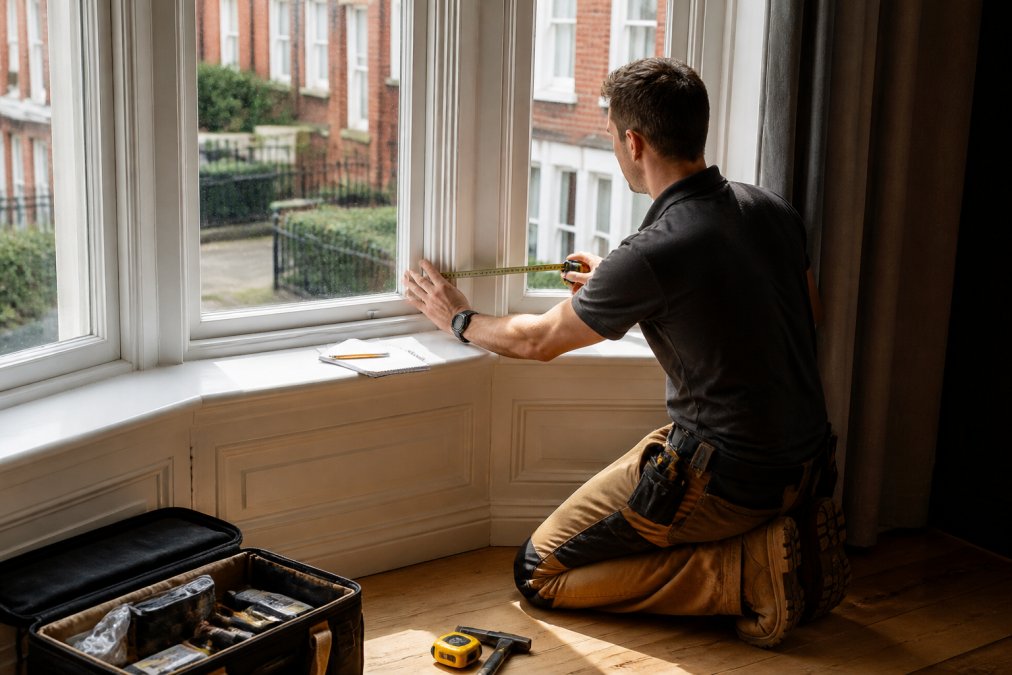
Step 1: Measure the Width of Each Bay Section
Measure each panel of the bay separately, at three points: top, middle, and bottom. Record the smallest figure for each panel.
Why the smallest? Because walls are rarely square, and shutters need to fit the tightest point. If you use the widest reading, the frame will bind.
- Left panel: measure top, middle, bottom
- Centre panel: measure top, middle, bottom
- Right panel: measure top, middle, bottom
For splayed bays, also measure the width at the front face and the back face of each panel. These will differ.
Step 2: Measure the Height and Drop
Height is measured from the top of the recess to the sill, again at three points across each panel.
Take the shortest reading. Then decide on your drop: full height, café style, or somewhere between.
- Full height: top of recess to sill
- Cafe style: top of recess to mid-window
- Tier-on-tier: two separate panels stacked
Write down which drop you want before you order. Changing it later means new frames.
Step 3: Measure the Depth and Angles
Depth tells you how much room you have for the shutter frame. Measure from the window glass back to the face of the wall.
Then measure the angle of each corner where panels meet. This matters most for splay bays, where the side panels angle backward.
- Depth: glass to wall face, at three points
- Angles: use a protractor or angle finder at each corner
- Note any obstructions: handles, vents, or sills that stick out
The Best Tools for Measuring Window Shutters
The best tools for measuring window shutters are a steel tape, a spirit level, an angle finder, and a notepad. Skip the phone apps; they rarely match a physical tape for accuracy.
Here's how the main options compare:
| Tool | What It's For | Why It Matters |
|---|---|---|
| Steel tape measure | Widths and heights | Doesn't stretch like fabric tapes |
| Spirit level | Checking square | Reveals sloped sills and walls |
| Angle finder | Corner angles | Essential for splay bays |
| Laser measure | Long spans | Fast, but check against a tape |
A laser measure is handy for wide bays, but always cross-check the first reading with a tape. Batteries fade, and a drifting laser gives you a false number.
How to Account for Window Obstructions in Shutters
Obstructions are anything that stops a shutter frame sitting flat: handles, vents, deep sills, or radiator tops. Measure around them, not through them.
The fix depends on what's in the way:
- Window handles: note how far they protrude and add that to your depth
- Air vents: measure their position so a panel doesn't block airflow
- Deep sills: decide whether shutters sit inside or in front of the sill
- Radiators: check clearance so panels can still open fully
A common mistake is measuring depth to the glass and forgetting the handle. That extra 20mm to 40mm decides whether the frame fits.
DIY Shutter Measuring Mistakes to Avoid
Most DIY shutter measuring mistakes to avoid come down to three things: measuring once, ignoring angles, and trusting a stretched tape.
Here's the checklist we use on every survey:
- Measured each panel at top, middle, and bottom
- Recorded the smallest width and height
- Measured depth to the deepest obstruction
- Checked every corner angle with a finder
- Cross-checked all readings with a second pass
- Noted the drop style before ordering
If any box is unticked, don't order yet. A re-measure costs ten minutes; a remake costs weeks.
Measuring Square Bays vs Splay Bays: What Changes
Square bays have panels that meet at 90 degrees. Splay bays have side panels that angle backward, so the corners are rarely square.
For a square bay, the width and depth readings are usually consistent across panels. For a splay bay, every panel needs its own angle reading, and the front and back widths will differ.
The practical difference:
- Square bay: simpler, fewer angle readings, faster to measure
- Splay bay: more readings, angle finder essential, more room for error
If you're unsure which you have, stand in the bay and look down. If the sides angle away from you, it's a splay.
Conclusion
Measuring a bay window for shutters is doable yourself, but the margin for error is small. Angles, depths, and obstructions all decide whether a frame fits flush or gaps at the corners.
If you'd rather not risk a remake, Shutters West London offers a free home consultation and measurement service. Every set is 100% made-to-measure, never templated, and built from scratch by a family-run team with 30 years of craft behind them. We handle bay, arched, and awkward window shapes that standard fitters turn away.
Get started with Shutters West London and a free, no-pressure quote for shutters that actually fit.
Frequently Asked Questions
Do I need a professional to measure my bay windows for shutters?
You can measure bay windows yourself if you have a metal tape measure and take your time. However, bay windows have angled sections and varying depths that make accurate measurement tricky. A professional measuring service removes the risk of ordering shutters that don't fit. Many shutter companies, including Shutters West London, offer free home consultations and measurements, so you get precise figures without the guesswork.
What tools do I need to measure a bay window?
A metal tape measure is essential because fabric tapes stretch and give inaccurate readings. You'll also need a spirit level to check for sloping sills, a pencil and paper for recording figures, and a stepladder if your bay window is tall. For angled bay sections, a digital angle finder helps confirm the exact corner angles. These are the best tools for measuring window shutters accurately without professional equipment.
How do I account for window handles when measuring for shutters?
Window handles, vents and trickle vents all reduce the usable depth of your window recess. Measure from the deepest point of the frame to the front edge of any handle or obstruction, ensuring sufficient clearance so the shutter panels can open and close freely. If the handle protrudes significantly, you may need a frame extension or a mid-rail positioned above the handle.
What is the difference between measuring a square bay and a splay bay?
A square bay has three or more flat sections meeting at 90-degree angles, so you measure each panel width independently and check the corner angles. A splay bay has angled sides that widen outward, meaning the front face is wider than the rear opening. For splay bays, measure both the front and rear widths of each section and record the angle. Getting this wrong is one of the most common DIY shutter measuring mistakes to avoid.