 how-to
How to Fit Shutters on Curved Bay Windows: Step-by-Step
Table of Contents
- Why Curved Bay Windows Need a Different Approach
- Tools and Materials You'll Need Before You Start
- How to Measure Bay Windows for Shutters
- Shutter Frame Installation Around a Curved Bay
- DIY Bay Window Shutters: What You Can and Can't Do Yourself
- Common Mistakes to Avoid When Fitting Curved Bay Shutters
- When to Call in a Professional Fitter
- Conclusion
- Frequently Asked Questions
Last Updated: 20 October 2026
Why Curved Bay Windows Need a Different Approach
Knowing how to fit shutters on curved bay windows is not the same job as fitting them on a flat window. That is the first thing to get straight. A curved bay has angled panels, splayed returns and a shape that rarely matches a perfect arc. Standard shutters, cut square and fitted flat, will leave gaps at the edges and bind against the frame.
At Shutters West London, we have spent three decades making shutters for exactly these awkward shapes, and we can tell you now: the difference between a good fit and a bad one comes down to how the frame is built, not how hard you push it into place.
Curved bays throw up three problems at once:
- Angled panels. Each section sits at a different angle, so each shutter needs its own measurements.
- Out-of-square openings. Period homes settle, and bay frames are rarely true.
- Curved head and sill. The top and bottom rails follow a curve, so a straight frame will not sit flush.
Below, we'll walk through the full process, from measuring each panel to fixing frames on a curved return. We'll also be honest about which parts you can tackle yourself and which parts will cost you more in the long run.
Tools and Materials You'll Need Before You Start
Getting the right kit together first saves a second trip to the shop. For a curved bay, you need more than a drill and a level.
Measuring and marking:
- Metal tape measure, at least 5 metres
- Spirit level, 600mm and 1200mm
- Sliding bevel or angle finder
- Pencil and a pad for sketches
- Masking tape for marking datum lines
Fixing and fitting:
- Cordless drill with masonry and wood bits
- Screwdriver set
- Packing shims
- Frame fixings suited to your wall type
- Silicone sealant and a finishing gun
Materials:
- Made-to-measure shutter panels and frames
- Architrave or beading if you are trimming out the reveal
- Touch-up paint matched to your frame finish
How to Measure Bay Windows for Shutters
Measuring a bay for shutters means recording each angled panel on its own, plus the depth and square of every opening. One set of overall dimensions will not work. If you measure the whole bay as a single unit, the shutters will not close properly at the angles.
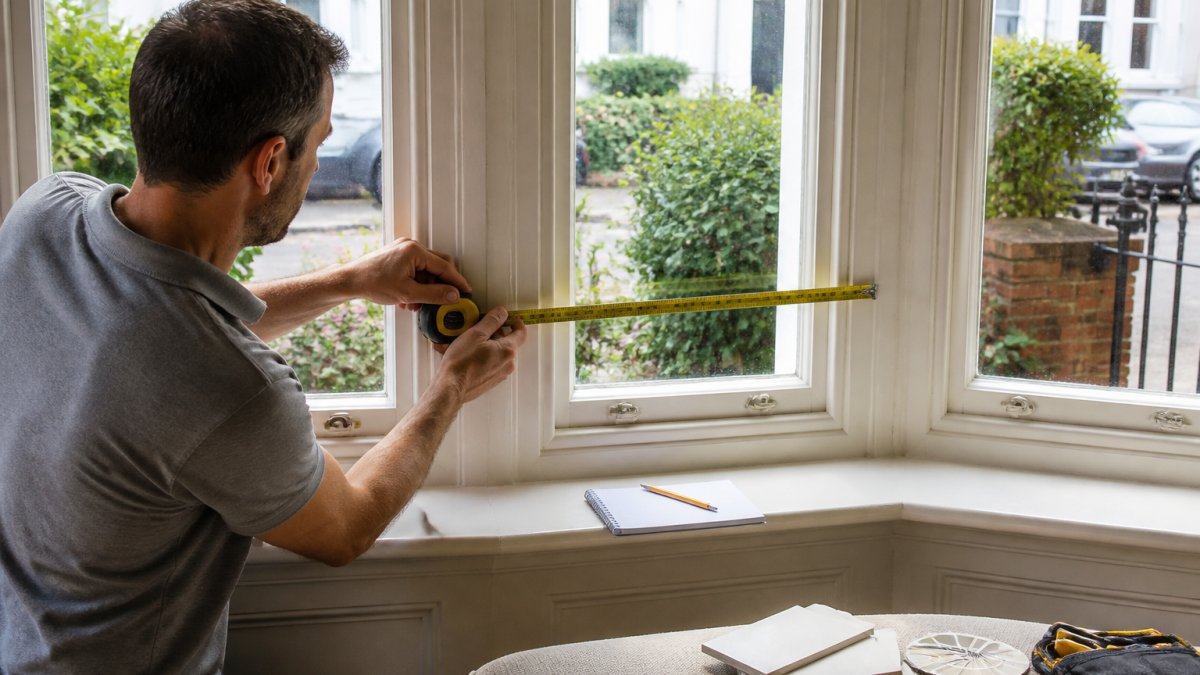
Measuring Each Angled Panel Separately
Work around the bay one panel at a time, left to right. For each panel, record:
- Width at the top, middle and bottom of the opening.
- Height at the left, centre and right of the opening.
- Reveal depth from the face of the wall to the window frame.
- Angle of the panel relative to the next one, using your sliding bevel.
Write the smallest width and smallest height down as your working figures. Shutters are made to the tightest dimension so they clear the frame. Note any obstructions too, such as window handles, vents or uneven plaster.
Checking for Square, Plumb and Clearance
A bay that looks square often is not. Check each opening with your spirit level, vertically and horizontally. Then check the diagonals: if the two diagonal measurements differ, the opening is out of square and the frame will need packing to compensate.
Clearance matters just as much. Measure how far the window handle projects into the room, and how much space you have behind any curtain track or radiator. Shutters need room to tilt open without fouling anything.
Shutter Frame Installation Around a Curved Bay
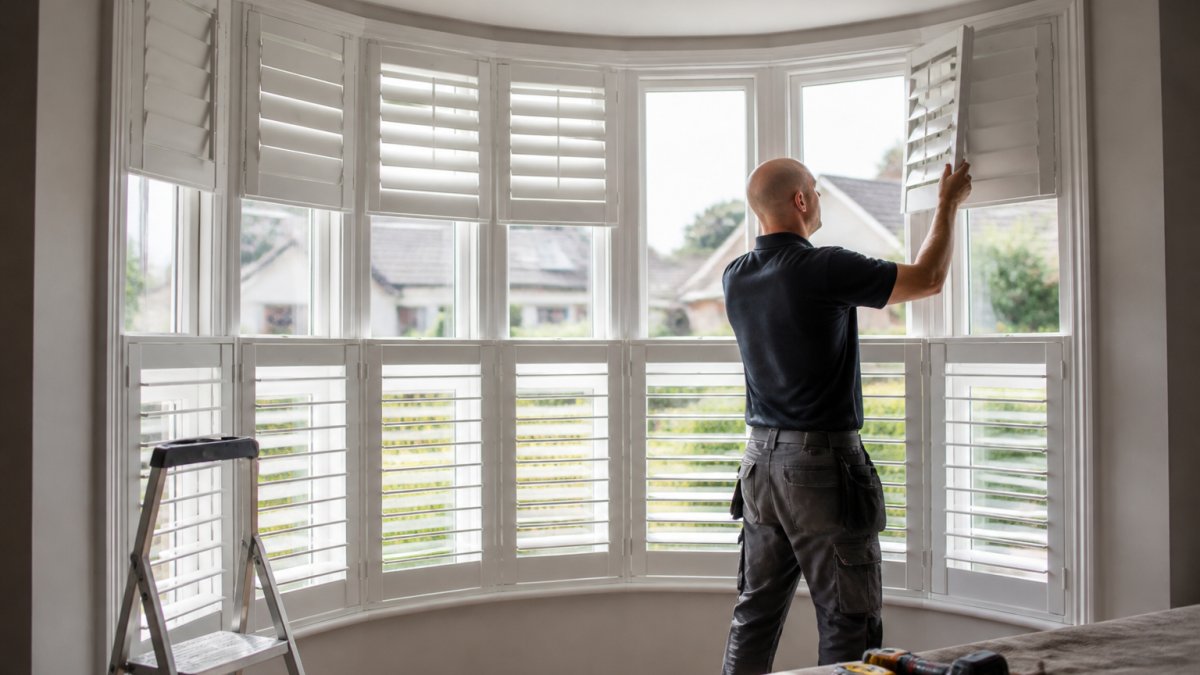
Shutter frame installation around a curved bay works by building the frame in sections, one per panel, and joining them at the angles rather than trying to bend a single frame around the curve. Each section is fixed to its own opening, then the joints are closed and finished.
Fixing Frames to Angled Returns and Curved Sections
Start with the centre panel and work outwards. That way, any small error is spread across the two end panels rather than concentrated in the middle of the bay.
- Set the centre frame first. Check it for plumb in both directions, then pack behind it until it sits true.
- Fix through the frame into the wall, using fixings suited to your wall type. Do not overtighten, or you will pull the frame out of shape.
- Offer up the next frame and check the angle against your earlier measurement. Adjust the packing until the joint closes cleanly.
- Fix the return frames last. These are the panels that meet the wall, and they are where curved bays usually go wrong.
- Seal and finish. Run a thin bead of sealant around the outside edge, then fit beading or architrave to hide the fixing line.
On a genuinely curved head or sill, the frame is usually scribed to follow the curve. This is skilled work. A frame that is forced to follow a curve will twist, and a twisted frame means shutters that stick within a season.
DIY Bay Window Shutters: What You Can and Can't Do Yourself
DIY bay window shutters are realistic for a straight-sided bay with square openings. For a curved bay, the honest answer is that the measuring and the frame work are the two stages where DIY most often fails.
Here is how the tasks split:
| Task | DIY realistic? | Why |
|---|---|---|
| Measuring square openings | Yes | Straightforward with a tape and level |
| Measuring angled and curved panels | Risky | Small angle errors multiply across the bay |
| Fitting frames to flat returns | Yes | Standard fixing work |
| Scribing frames to a curve | No | Needs workshop tools and experience |
| Making the shutter panels | No | Made-to-measure only |
| Sealing and finishing | Yes | Straightforward with care |
The measuring stage is where most DIY jobs come unstuck. A degree out on one panel becomes a visible gap by the time you reach the far side of the bay. If your bay is curved rather than angled, get the measuring done by someone who does it regularly.
Common Mistakes to Avoid When Fitting Curved Bay Shutters
Most problems with curved bay shutters trace back to four mistakes. None of them are difficult to avoid once you know what to look for.
- Measuring the bay as one unit. Each panel needs its own figures. Overall dimensions will not translate into panels that close.
- Ignoring the reveal depth. Shutters fitted too far forward foul the window handles. Too far back and they foul the glass.
- Forcing a frame to follow a curve. A frame under tension will twist. Twisted frames cause sticking and grinding within a couple of years.
- Skipping the square check. An out-of-square opening needs packing, not brute force. Pack it, then fix it.
When to Call in a Professional Fitter
Call in a professional fitter when your bay is genuinely curved, when the openings are out of square, or when the window has arched or non-standard sections. Those three situations need workshop-made frames and a fitter who has done the job before.
There is also the question of risk. A made-to-measure set of shutters is a significant purchase, and a measuring error on your part usually means paying for a replacement set. A professional measurement and fit removes that risk.
At Shutters West London, every set is made from scratch to your window, never templated from a standard size. We come out to measure for free, which means you get the awkward shapes checked by someone who fits them for a living. Our 10/10 Checkatrade rating across all reviews reflects how that approach lands with customers.
Conclusion
Curved bay windows ask more of a shutter fit than any other window shape. The measuring has to be done panel by panel, the frame has to be built in sections, and any curve in the head or sill has to be scribed rather than forced. Get those three things right and the shutters will sit true for years. Rush them and you will be fighting sticking panels before long.
If your bay is curved, arched or simply not square, that is exactly the work we do. Shutters West London offers a free home consultation and measurement, 100% made-to-measure shutters built from scratch, and a full choice of styles, colours and tilt rods to match your room. Get a free quote and let us measure the awkward bits properly.
Frequently Asked Questions
Can you fit shutters to a curved bay window?
Yes. Curved bay shutters are made as separate panels hinged or fixed to follow each angle of the bay, so the shutters sit flush against the frame rather than bridging the curve in one flat piece. Because every curved bay has slightly different angles and depths, the panels must be made to measure rather than bought off the shelf. A professional fitter will template each section on site, which is why curved bays cost more and take longer than a standard rectangular window.
How do you measure a curved bay window for shutters?
Measure each angled panel separately rather than treating the bay as one opening. Take the width at the top, middle and bottom of every panel, plus the height at both edges and the centre, and note the depth of the recess and any window handles or trickle vents. Record the internal angle between panels using a protractor or angle finder. Write everything down panel by panel, because a curved bay is rarely symmetrical and small differences decide whether the shutters fit cleanly.
Can you install bay window shutters yourself?
DIY bay window shutters are realistic on a simple square or three-sided bay with straight, plumb reveals. Curved bays are harder: the frames need packing and scribing to follow the curve, and a few millimetres out throws every panel off. If you do it yourself, order a made-to-measure kit with a fixing template and check every panel for square before drilling. If the bay is arched, out of plumb, or has deep curved returns, professional fitting is the safer route.
How much clearance do shutters need around a curved bay window?
Leave enough room behind the frame for the panels to tilt and for the louvres to rotate fully, and check that window handles, trickle vents and any opening casements are not blocked. The exact figure depends on the shutter style and frame depth, so measure the projection of handles and vents before ordering. On a curved bay, also allow clearance at the tightest point of the angle, since that is where panels bind first.